
Tcpdump and usage
Tcpdump and usage
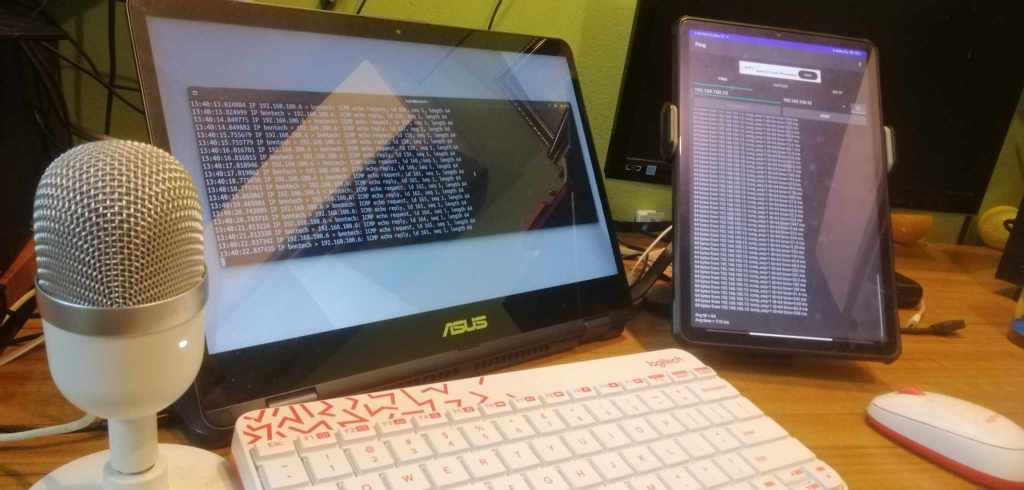
Tcpdump ဟာ Wireshark နဲ့တူပါတယ်။ Wireshark ကတော့ GUI သုံးလို့ ရပေမယ့်
Tcpdump ကတော့ command line tool ပါ။ ဒါကတော့ command line interface ကို
ကြိုက်သူတွေအတွက် အဆင်ပြေစေမှာပါ။
သူ့ရဲ့ လုပ်ဆောင်ချက်တွေကတော့ Network packet analyzer ဆိုတဲ့ အတိုင်း Network
traffic တွေကို analyse လုပ်မယ်။ ပြီး ရင် capture လုပ်မယ်ပေါ့ဗျာ။
ဒီလို အကြောင်းတွေကို bnntech Youtube channel မှာ Wireshark အကြောင်းသိကောင်းစရာဆိုပြီး Playlist လုပ်ပြီး တင်ပေးထားခဲ့ပြီးပါပြီ။
Channel လေးမှာလည်း သွားရောက်လေ့လာနိုင်ပါတယ်။ အခုက Wireshark နဲ့ လုပ်ဆောင်ချက်တူတယ်ဆိုတော့ အသုံးပြုပုံလေးကိုပဲပြောပြပါမယ်။
tcpdump ဟာ cli မှာပဲ အသုံးပြုရမှာဆိုတော့ Unix-like Operating System တွေမှာ
အဆင်ပြေစေမှာပါ။ နောက်ပြီး ဒီ Tool ကို သုံးဖို့ ဆိုရင် root user သို့မဟုတ် super user ဖြစ်ဖို့တော့လိုပါမယ်။အဲ့တော့ command usage လေးတွေသွားလိုက်ရအောင်။
၁။ အကိုတို့ အမတို့ လက်ရှိသုံးနေတဲ့ computer ရဲ့ interface ကို သုံးပြီး traffic တွေကို
capture လုပ်ချင်ရင်တော့ ..
root@bnntech:~#tcpdump -i eth0
၂။သီးခြား IP address နဲ့ capture လုပ်ချင်ရင်တော့ ..
root@bnntech:~#tcpdump host 192.168.100.1
၃။ Port ပဲ capture လုပ်ချင်ရင်တော့ …
root@bnntech:~#tcpdump port 8080
၄။ Protocol သီးသန့်ပဲ capture လုပ်ချင်ရင်တော့ ..
root@bnntech:~#tcpdump icmp
၅။ Capture လုပ်ထားတာတွေကို file အဖြစ် သိမ်းလိုပါက..
root@bnntech:~#tcpdump -i eth0 -w mypacket.pcap
၆။ Host and Port အတိအကျနဲ့ Capture လုပ်ချင်ရင်တော့ ..
root@bnntech:~#tcpdump -i eth0 ‘src host 192.168.0.1 and port 22’
အထက်ဖော်ပြပါ အသုံးပြုပုံများသည် Example အနေနဲ့သာ အသုံးပြုထားခြင်းဖြစ်ပါသည်။
အဆုံးထိ လေ့လာ ပေးမှု အတွက် ကျေးဇူးတင်ပါသည်။
လာမည့် ဒီဇင်ဘာလ အတွက် သင်တန်းသားများ စတင်လက်ခံနေပါပြီ။
သင်တန်း ရည်ရွယ်ချက် နဲ့ စုံစမ်းရန် ။ Click Here
